Start here
Hosted quickstart
You won't open a code editor. You won't run a command. You'll sign in to siteship.ai, describe your site to the builder, watch it get built, and click publish.
1. Sign up
Go to siteship.ai and enter your email. We'll send a magic link — click it and you're in. No password.
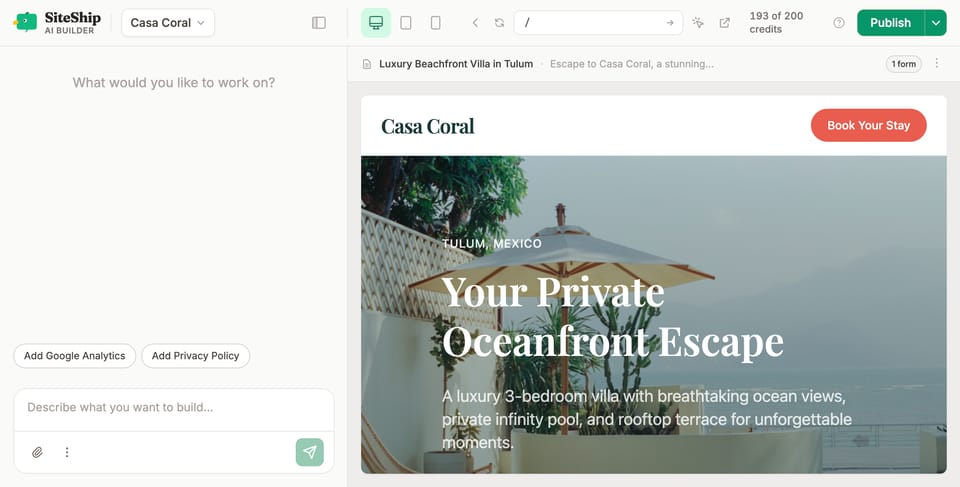
2. Open the builder
You'll land on the builder at app.siteship.ai/build. The first time you arrive, a guided tour highlights the main controls (chat, preview, devices, publish, settings). You can replay it any time from the ? button.
3. Describe your site
The chat panel on the left is how you talk to the builder. Be concrete:
Build a site for a coffee shop in Austin called Daily Brew. Hours, location, menu, online ordering link, and a mailing-list signup.
Make me a portfolio for a freelance illustrator. Three project case studies, an about page, a contact form.
The builder writes pages, picks a layout, and sets up structure. The right pane shows the live result. Each instruction creates a checkpoint you can roll back to.
4. Iterate
Keep talking. Try things like:
- "Make the hero darker, with a yellow highlight on the headline."
- "Replace the third feature card with one about same-day delivery."
- "Add a FAQ section with five questions about returns."
When you want to edit a specific element, click the element picker in the toolbar, click the thing on the page, and use the smart bar that appears — change a link, swap a heading, replace an image. The chat still works for everything else.
Use the device toggles to check tablet and mobile.
5. Publish
Top right, Publish. Your site goes live at your-slug.siteship.dev in a few seconds. Add a custom domain anytime from Settings → Domain — see Connect a custom domain.
What's next
- Tour the builder UI — every control explained.
- Versions & rollback — every publish is versioned; one-click rollback.
- How-to guides — concrete recipes (forms, blog, payments).